The Interaction Manager enables you to create custom interactions that enhance your website’s functionality without requiring additional code. These custom interactions are created by combining pre-set rules, offering unlimited possibilities for functionality.
Think of the rules as ingredients, they can be combined in all manner of ways to create a variety of different results.
Some example tutorials of what can be created with the Interaction Manager, can be found on the Blocs Academy.
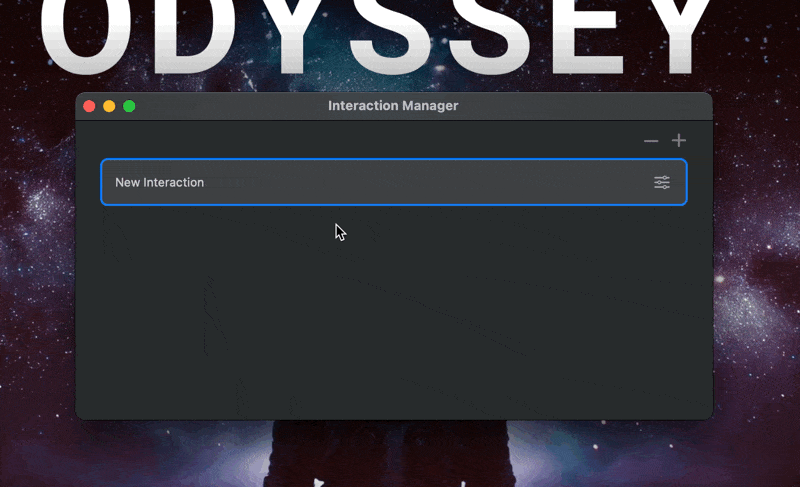
Open Interaction Manager
To launch the Interaction Manager, head up to the Main Menu Bar and from the Windows menu, select Interaction Manager or alternatively use the keyboard shortcut ⌃⌘i.

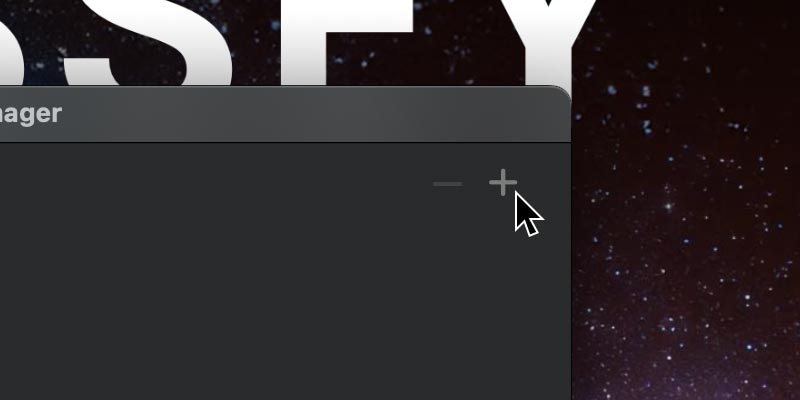
Add Interaction
To create a new interaction, click the + button which is located in the top right corner of the Interaction Manager window or alternatively use the keyboard shortcut ⌃n.
Rename Interaction
It’s possible to rename an interaction by simply clicking on the interaction item text and typing a new name.
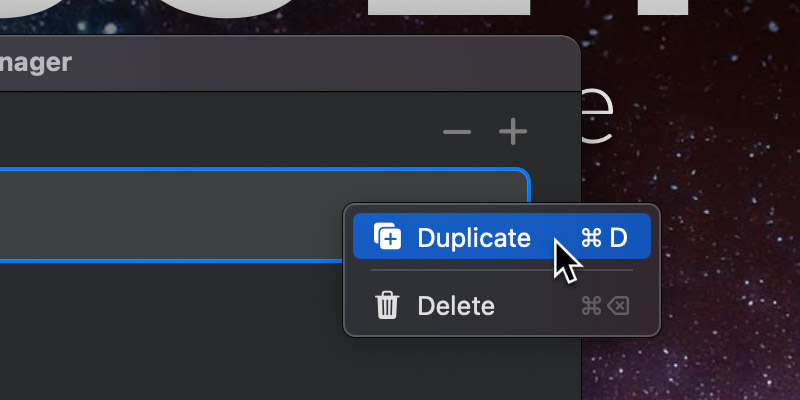
Duplicate Interaction
It’s possible to duplicate an interaction by right clicking and selecting duplicate from the context menu or alternatively use the keyboard shortcut ⌘+D.
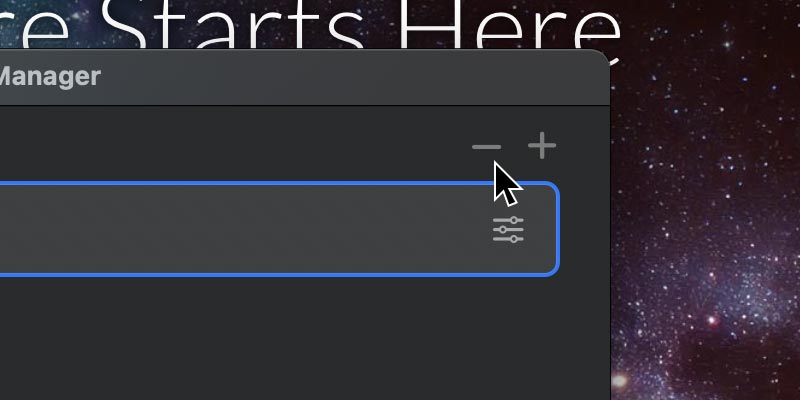
Remove Interaction
To remove and delete a custom interaction, simply select the interaction item you would like to remove and click the – button, which is located at the top right of the Interaction Manager window or alternatively use the keyboard shortcut ⌘+⌫.
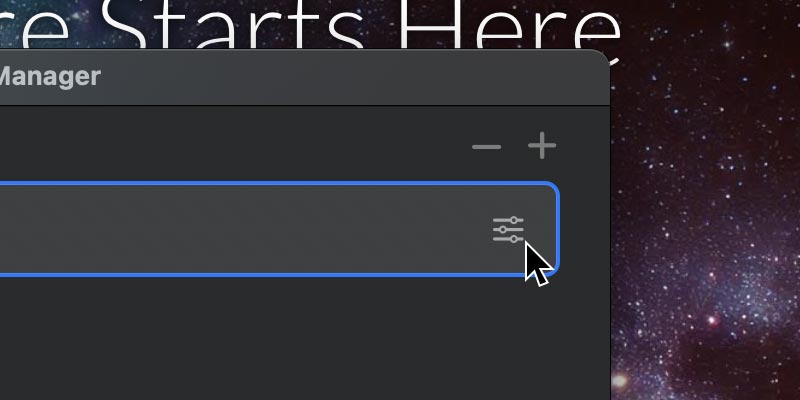
Edit Interaction
To edit an interaction, click the settings button which is located at the far right of the interaction item, or simply double click the interaction item. This will open a popover containing all of the rules contained within the interaction.
Insert A Rule
To insert a new rule into an interaction, simply click the + button which is located at the top right of the interaction popover or alternatively use the keyboard shortcut ⌃n. This will open a drop down menu containing all of the available rules that can be used within custom interactions. Clicking one will insert it below the currently selected rule.
Conditionals
If Statement
The if statement rule is used to perform conditional logic. It allows you to place rules within it that are triggered only if a specified condition evaluates to true. This is helpful for decision-making in your custom interactions, enabling different outcomes based on certain conditions.
Custom Interaction if statements support the following variables: URL, Visible, On Screen, Scroll Y, Cookie, Operating System (OS), Time Range, Daytime, Nighttime, Date, Day, Month, Weekday, Weekend. All variables allow you to specify a comparison value and support various operators.
Navigation
Navigate to Page
This rule will navigate the browser to the specified page.
Navigate to URL
This rule will navigate the browser to the specified URL.
Scroll to Target
This rule will scroll to the element with the specified #ID or class.
Reload Page
This rule will reload the current page in the browser.
Classes
Toggle Class
This rule will toggle the specified classes on the elements with the specified #ID’s or class.
Add Class
This rule will add the specified classes to the elements with the specified #ID’s or class.
Remove Class
This rule will remove the specified classes from the elements with the specified #ID’s or class.
Action
Set Attribute
This rule will set the value of a data attribute for the element with the specified #ID or class.
Toggle Visibility
This rule will toggle the visibility of the elements with the specified #ID’s or class.
Toggle Modal
This rule will toggle a modal (show/hide) with the specified #ID.
Telephone Link
This rule will begin a phone call (on supported devices) to the specified phone number.
Email Link
This rule will open the current user’s email client with the address field populated with the specified email address.
Download File
This rule will trigger the download of the specified file.
Submit Form
This rule will submit a form with the specified #ID or class.
Reset Form
This rule will reset a form with the specified #ID or class.
Remove Element
This rule will remove an element with the specified #ID or class.
Disable Element
This rule will disable an element with the specified #ID or class.
Call JavaScript
This rule can be used to call custom JavaScript functions.
Selection
Select Tab
This rule will select the tab for a tab Bric with the specified #ID.
Click Item
This rule will programatically click the element with the specified #ID or class.
Focus Element
This rule will programatically focus the element with the specified #ID or class.
Check Element
This rule will programatically set the checked state of the element with the specified #ID or class.
Text
Set Text
This rule will set the specified text content for the element with the specified #ID or class.
Copy Text
This rule will copy a specified text string or an element’s textual content to the users pasteboard.
Set Value
This rule will set the value for the input element with the specified #ID or class.
Video
Video Player
This rule can trigger events such as play, pause, stop and mute for the video player element with the specified ID.
Audio
Audio Player
This rule can trigger events such as play, pause, stop and mute for the audio player element with the specified #ID or class.
Play Sound
This rule will play the assigned mp3 audio file (Add audio files to Asset Manager).
Bootstrap
Carousel
This rule can trigger events such as play, pause, next, and previous for the carousel element with the specified #ID.
Interactions
Call Custom Interaction
This rule will call another custom interaction and allows a delay that is set in milliseconds.
Pause Interaction
This rule adds a delay (in milliseconds) before the next interaction rules run.
Stop Interaction
This rule prevents a Custom Interaction from running any additional rules after it.
Feedback
Notification
This rule will trigger a browser web notification with the specified message.
Alert
This rule will trigger an alert with the specified message.
Console Log
This rule will create a browser log with the specified text.
Cookie
Set Cookie
This rule will set a cookie in the user’s browser with a specified name, value and number of days.
Destroy Cookie
This rule will destroy a cookie in the user’s browser with a specified name.
Misc
Set HTML
This rule will set the HTML of the element with the specified #ID or class.
Stop Loading
This rule will stop the web browser loading.
Stop Loading
This rule will stop the web browser loading.
Duplicate A Rule
It’s possible to duplicate a rule by right clicking and selecting duplicate from the context menu or alternatively use the keyboard shortcut ⌘+D.
Remove A Rule
To remove a rule from an interaction, simply select the rule you would like to remove and click the – button which is located at the top right of the interaction popover.
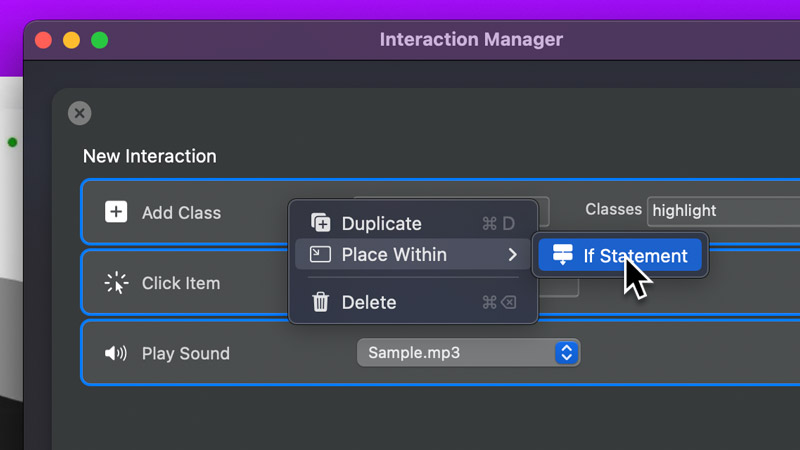
Place Within If Statement
You can quickly place multiple rules inside an if statement by selecting them, right-clicking, and choosing Place Within > If Statement from the context menu.
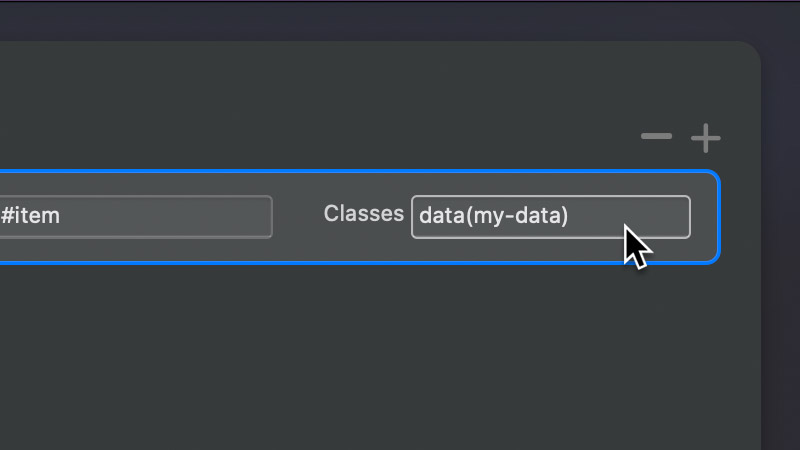
Data Short-Code
You can now use the data() short-code in a Custom Interaction to get custom data attribute values from the trigger element when the interaction runs. Simply place the target data attribute inside the brackets, like this: data(my-attribute). The attribute must also be stored on the trigger element.
You can use the data() short-code in any interaction rule text field. Learn more about adding custom data attributes to elements here.
Apply Custom Interactions
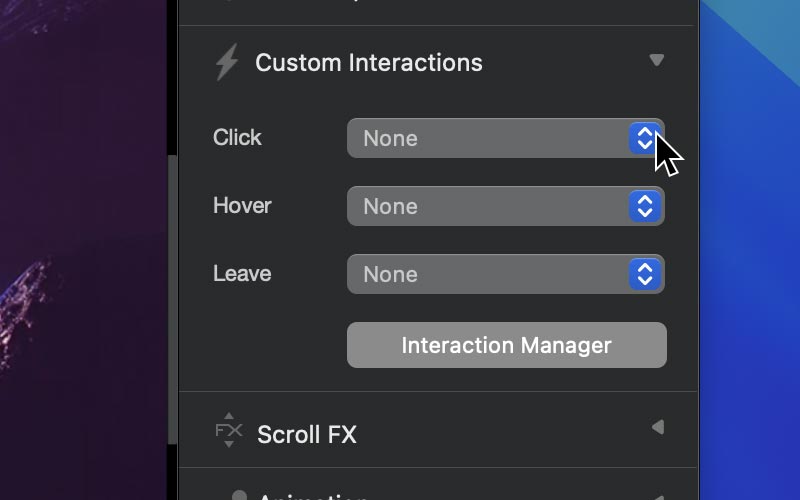
Custom interactions can be applied to almost any element within Blocs, items such as buttons, images and icons have a custom interaction option available, in the standard sidebar interactions dropdown.
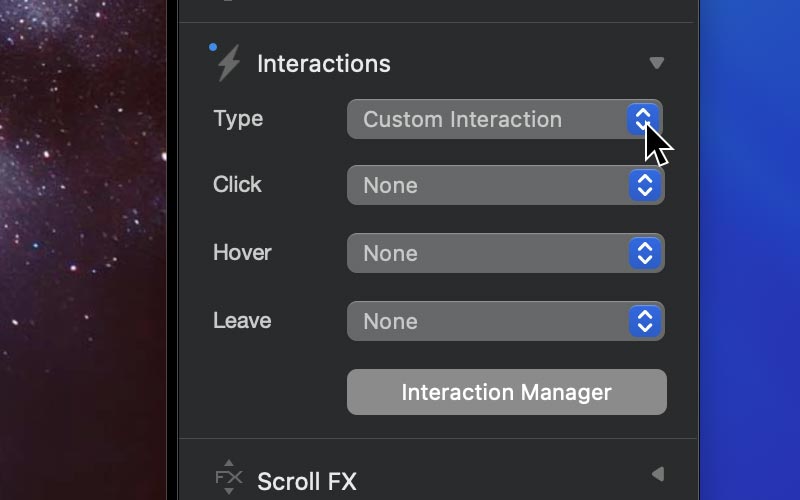
Other elements such as Blocs, rows, columns, divs and text will show a custom interaction pane in the sidebar inspector.
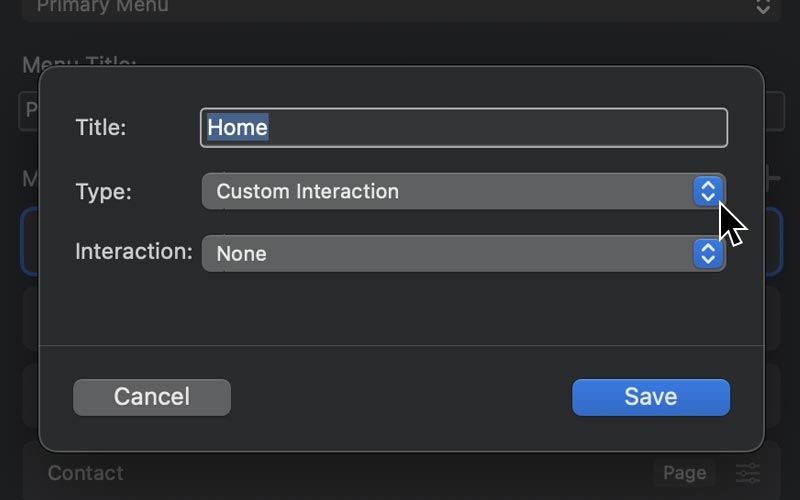
The Menu Manager has support to use custom interactions in menu items.
Trigger Custom Interaction
In most cases, Custom interactions can be triggered in three ways: when an element is clicked, when the mouse cursor is hovering over an element and when the mouse cursor leaves an element.
It’s also possible to trigger a custom interaction once a page has loaded, this can be done via the page settings options.