The WordPress Custom Data Manager lets you create and manage custom post and field data types. To access the Custom Data Manager, navigate to Window > WordPress Custom Data Manager via the Main Menu.
Select Data Type
The drop down menu located at the top left of the Custom Data Manager window can be used to switch between Custom Post and Custom Field data types.

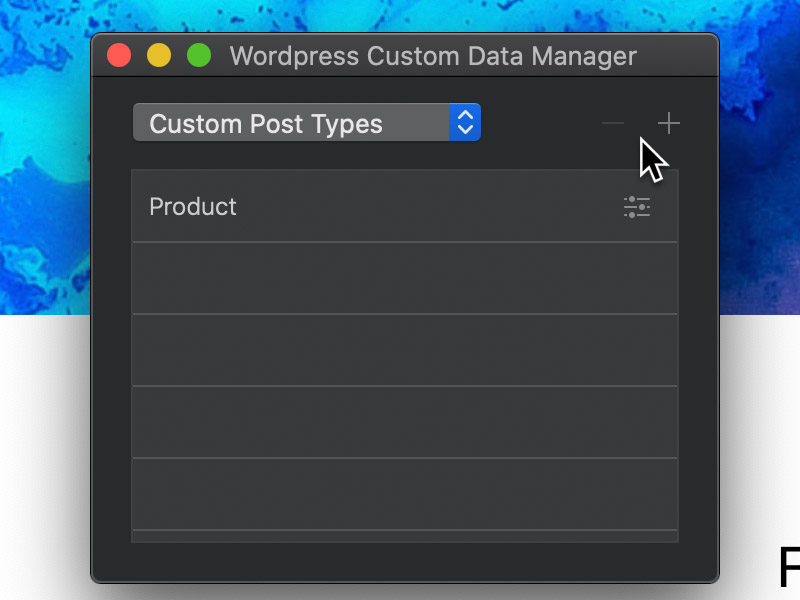
Add and Remove Data Types
Adding and removing custom data types using the Custom Data Manager is really simple. In the top right corner of the Data Manager there are two buttons, one marked with a – symbol and one marked with a + symbol. The button marked with a – symbol will remove the selected data type and the button marked with a + symbol will add a new one.
The custom data type created when you click the + button depends on the current mode that is set with the data type drop down menu. If this menu is set to Custom Post Types a new custom post type will be added, if the menu is set to Custom Field Types a new custom field type will be added.
Custom Posts
When a new custom post type is added to a project, it will become available in the WordPress loop options found in the sidebar inspector options when a column is selected.
A custom post type will also require a dedicated page template that has the same name as your post type. It’s not necessary to apply the single- prefix as Blocs will manage this automatically upon export.
Custom Fields
When a new custom field type is added to a project, it will show up in the text and image data feed drop down menus that are located in the sidebar inspector. It’s also possible to display the output of a custom field type, using the custom field short code.
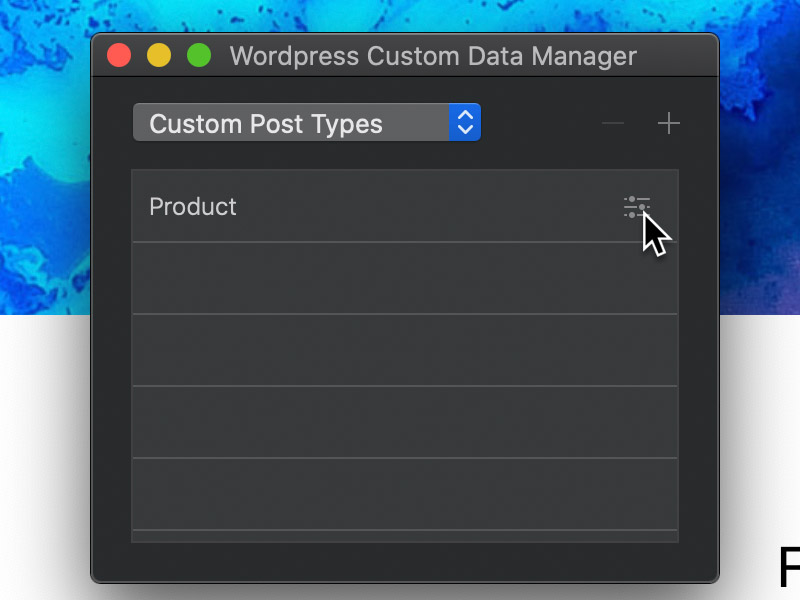
Edit Data Type
To edit a custom data type, simply Left Click the small settings symbol that is located at the far right side of the item you wish to edit. Doing this will open up the dedicated editing controls.