Blocs comes with a built in code editor that lets you edit and input code into various areas of a Blocs website.
Opening the Code Editor
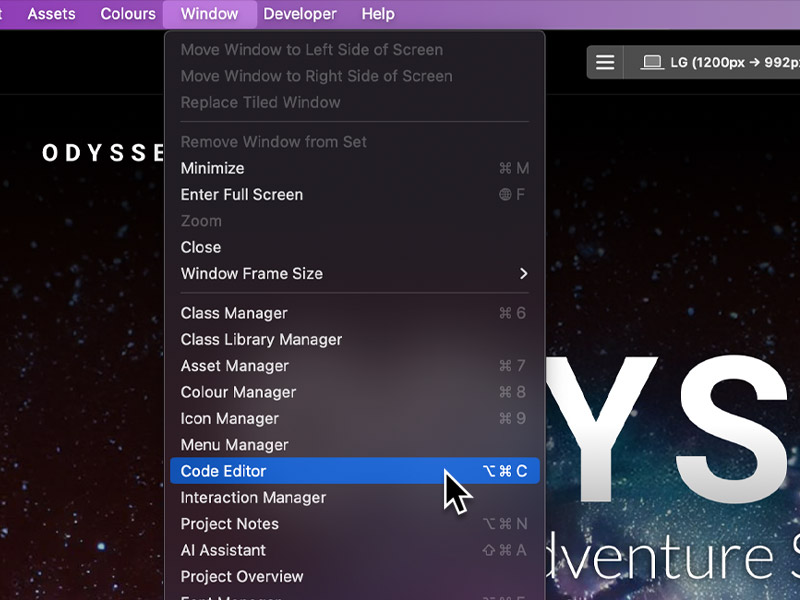
You can access the Code Editor within Blocs, by double clicking on a Code Widget, via the main menu Window > Code Editor or with the keyboard shortcut ⌥+⌘+C.
Code Input Zones
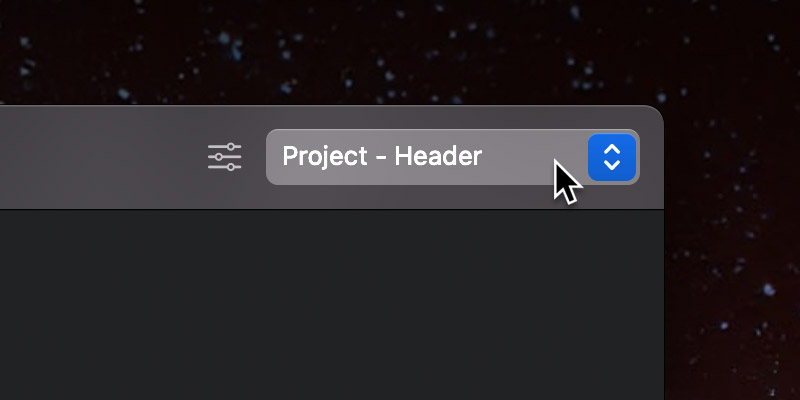
As well as the individual zones that are added with Code Widgets, there are 10 additional code zones that can be used to input custom code into a Blocs website. The target input zone can be selected using the drop down menu located in the top right corner of the Code Editor window.
Project Input Zones
Code that is entered into one of the four project code input zones will be included in the specific zone on every page of a website.
Page Input Zones
Code that is entered into one of the four page code input zones will be included in the specific zone on the currently active page.
Additional CSS
Code that is entered into this zone will be included in the main style.css style sheet.
Hypertext Access (.htaccess)
Code that is entered into this zone will be included in the .htaccess file that Blocs will generate upon export or publish.
WordPress Extra Functions
This code zone is only visible when the project’s CMS is set to WordPress. Any code added here will be included in the functions.php file, which Blocs generates as part of the WordPress theme during export or publishing.
Used Code Indicator
Whenever you add custom code to a supported zone, Blocs shows an indicator in the Layer Tree on every page that’s affected.
Tidy Contents
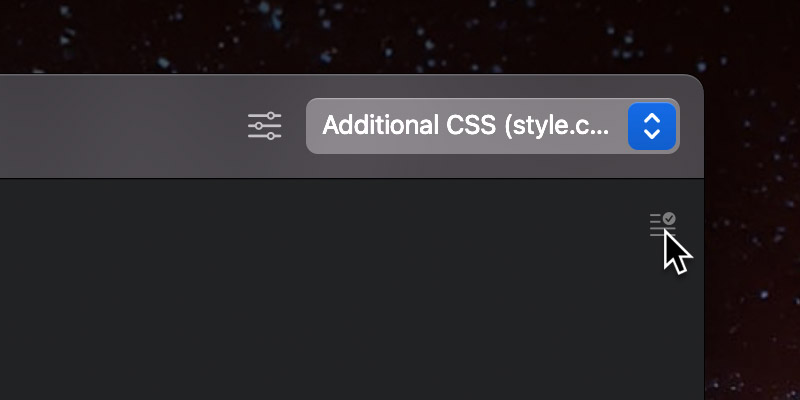
When the Code Editor input zone is set to additional CSS, Blocs will display a small button in the top right corner of the code input area. Clicking this button will tidy (Beautify) the CSS code formatting.
Code Editor Settings
It’s possible to set the typeface and font size for the Blocs code editor via the settings popup which can be accessed by clicking the settings button which is located to the left of the code input zone selection dropdown.
